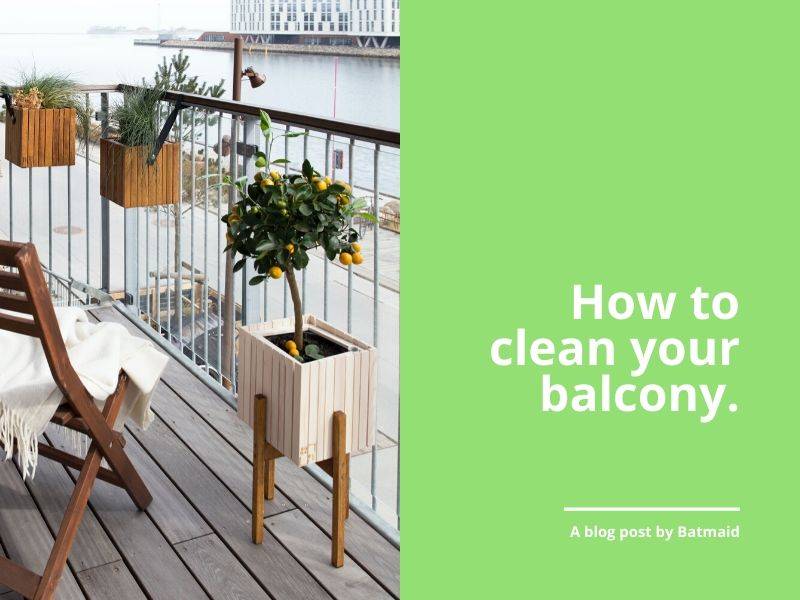
How to clean your balcony
August 26th at 11:49am
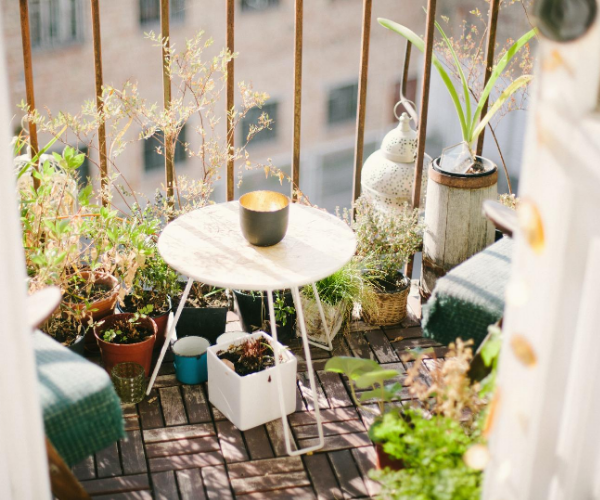
Summer has arrived, and with it the long evenings and good weather! It’s time for your balcony to shine as it will become the venue for barbecues and get-togethers with friends. Though now that you think of it, your balcony could probably do with a little clean if you’re going to be inviting guests over… It was a long winter after all! So here is Batmaid's balcony maintenance guide to get you on track to a great summer.
Step 1 : Spring cleaning
When the good weather starts rolling in, that all important spring clean is in order. No point putting it off, best to get stuck right into it and get it out of the way. It is the longest step of this guide, but it is indispensable for your peace of mind this summer.
First, empty your balcony of any garden furniture. Make sure to be careful when lifting anything heavy and don’t be afraid to ask a friend for help should you need it. Think of your back and lift with your legs!
After clearing the area, you’re ready to get sweeping. Sweep up any dust, dead leaves or debris that has built up. Make sure to get it all whilst you’ve got the place cleared. Once you’ve taken care of that, it’s time to break out the mop and get that balcony looking good as new. If you’re living above neighbours and your balcony runs down onto theirs, be careful not to use too much water! If your balcony is in good shape, using some black soap or baking soda in some warm water should be enough to get the job done. You will hear a lot of people tell you to just use bleach to clean up your balcony, but in reality, it can damage the flooring and it’s bad for the environment: Think of the plants!
Anti-stain reminder
For special cases, we present to you a short guide for a stain-free balcony!
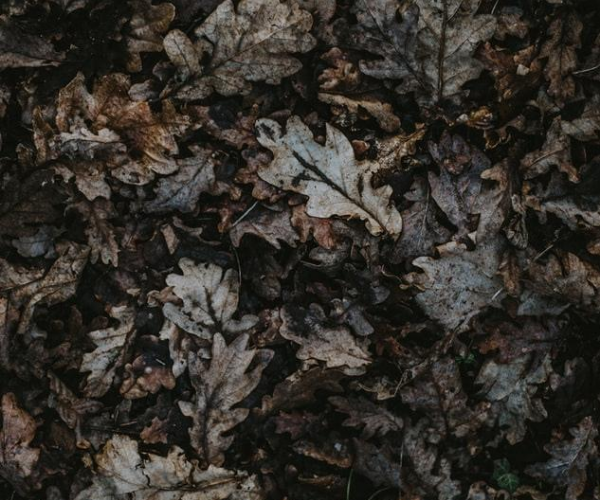
- Dead leaves: They have a tendency to leave unsightly brown stains on your floor… To get rid of them you’re going to need Marseille soap, hot water and elbow grease.
- Moss: To banish moss from your balcony, follow this simple recipe:
- 8L warm water
- 600g citric acid
- 150g baking soda
- 15 drops of tea tree essential oil
- 20 ml olive oil
Spray your newly concocted solution on the affected area and let it do its magic. From there all that’s left to do is give it a good wipe down.
-
Fat stains: For stubborn fat stains from your last BBQ or meal out on the balcony, sprinkle talcum powder or flour onto the area to absorb it, then simply brush it off.
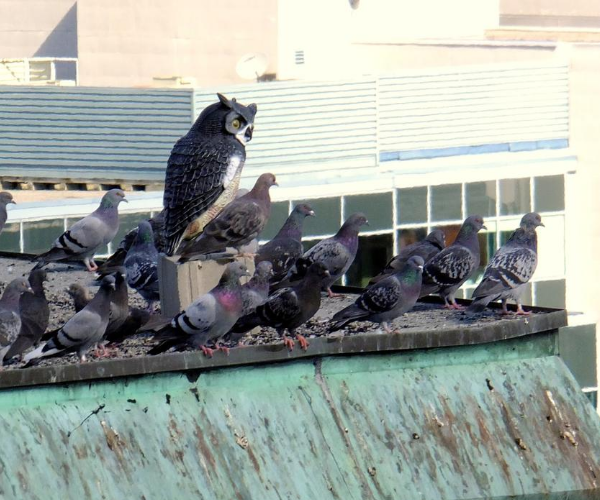
- Birds: For bird droppings, black soap should be your go-to cleaning weapon. You can always try to set up a fake bird of prey to scare off pigeons, but as you might be able to see in the photo below, it isn’t always 100% effective. 😅
Step 2: Flooring maintenance
Once the cleaning is done and the place is looking spick and span, all that’s left to do is protect your floor so that it has better defenses for the rest of the season... This is for that peace of mind we mentioned earlier!
There are two main types of balcony floors: wood type floors and tile or concrete floors.
For wooden flooring your best course of action is to oil it, and what better time than right after a good clean. This will allow the oil to cover and permeate the wood correctly ensuring a solid protection and extending its life expectancy. You can find the products here.
When it comes to maintaining tile or concrete floors, you can also waterproof them with commercial products to protect them from mould and weather damage in the coming months.
Step 3: The garden furniture
It is very important to take good care of your garden furniture so that they live a long life and see many summer seasons! The most important aspect of caring for them is cleaning! Most of the esthetic damage done to them stems entirely from a buildup of dirt which starts to eat away at the varnish or even their colour. Start your summer by giving them all a good clean and you can spend the rest of it chilling out!
If your plastic garden furniture has started to turn yellow in its old age, reach for the baking soda. All you have to do is mix it with water and give the items in question an energetic scrubbing with the mixture. One you’ve covered all the surfaces of your furniture, give it a minute to act before washing it off with plenty of water. You should be able to notice the difference immediately, time to be proud of your renewed setup!

To breathe new life into your teak furniture and restore colour, grab yourself some turpentine essence and get painting. Do be careful however, as the vapours can be dangerous. It’s a good idea to do this outside or at least in a heavily ventilated area.
Now that you’ve got your furniture all cleaned up and ready to endure the test of time, there is one more helping hand you can give it. Cover them up with a tarpaulin if possible, to protect them from the elements, especially from the rain and sun.
For a detailed guide on how to clean various outdoor furniture surfaces, read this article on our blog.
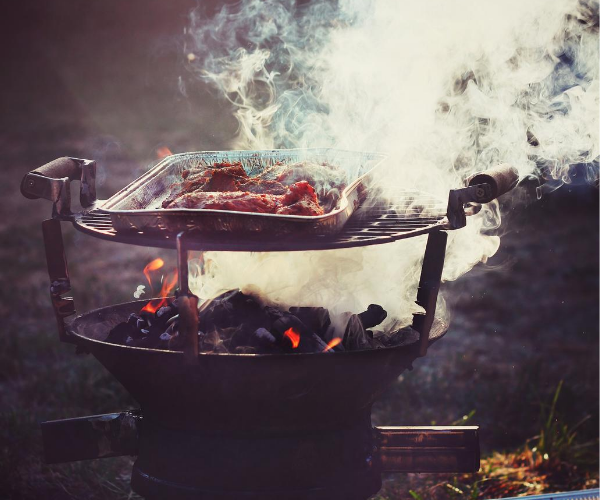
Step 4: Barbecue care
Summer, or as we like to call it, BBQ season! There isn’t much better than getting the gang around on a hot afternoon at getting the grill up and running. Food and friends, an age-old combination.
Once the party is over though… You’re left alone with the leftovers and a dirty, greasy barbecue. If you want to have people over again, you’re going to have to do something about it, a task that sometimes feels impossible to face up to. Have no fear, we have the secret to beating the BBQ!
Again, you’ll find a friend in white vinegar! Grab a spray bottle and fill it up with the aforementioned vinegar and give your grates a hearty spray. Give it 20-30 minutes to loosen up the grease before wiping it down thoroughly with first a wire brush and later a cloth.
If, after cleaning off all the grime, you find that your grate is looking a little bit rusty, try brushing it down with some linseed oil to combat the rust in a natural way.
If you’re looking to keep your grill for the long run, don’t forget to wipe down the burners at the end of the season, leaving them dirty over the winter will lead to blockages and issues next time you try to fire it up. If you want to learn more about how to clean your BBQ, read our article here.
So, there we have it, you’re ready for a fabulous summer with a clean balcony and many get-togethers. Feel free to share your balcony and BBQ cleaning tips with us!