How to clean and care for garden furniture
June 4th at 6:12pm
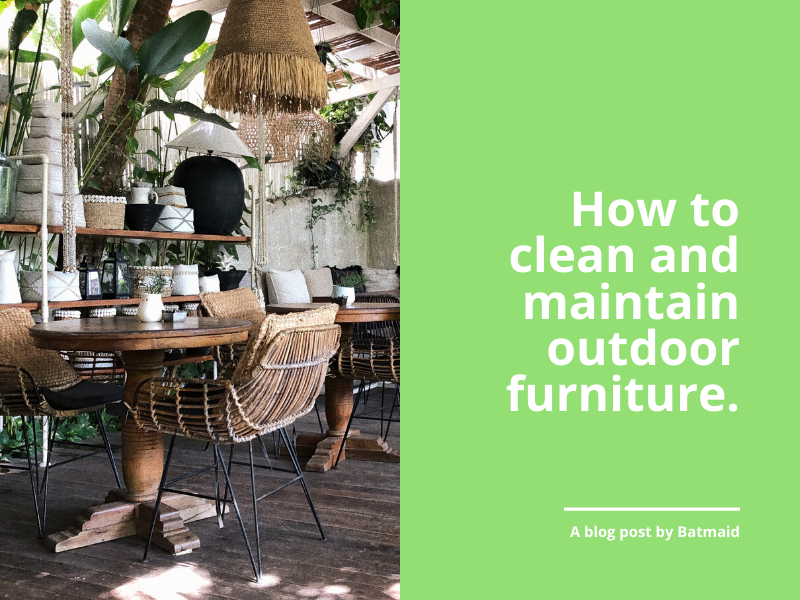
It‘s the season of food and drinks out in the garden! But before cracking open a few cold ones, ensure that your guests are pampered with clean outdoor furniture. This article outlines the best practices to keep your patio furniture looking new, both during summer and off-season.
Five main types of garden furniture will be covered in this article:
- Wooden
- Plastic
- Metal
- Fabrics
- Wicker
PREPARATION
The tools and products you‘ll need:
- Dish soap
- Basin (to mix dish soap and water)
- Soft brush
- Oxygen bleach (can be replaced with chlorine bleach, but not safe for fabrics)
- Medium-grit sandpaper
- Garden hose
- Dry towel
GENERAL DOS AND DON‘TS
- DO NOT pressure wash any outdoor furniture! While it may seem like an easy and quick way to get rid of stains and dirt, it will damage the structure of your furniture. For instance, pressure washing wood will force water into the pores and strip away some of its layers (particularly in softer timbers). * Pro Tip: While warm water is more efficient than cold water in cleaning, hot water can have adverse effects on surfaces (particularly fabrics).
Read on for a guide on how to properly ready your patio furniture for exterior dining, and maintain its longevity for many summers to come. (Several steps will overlap between sections.)
CLEAN WOODEN GARDEN FURNITURE
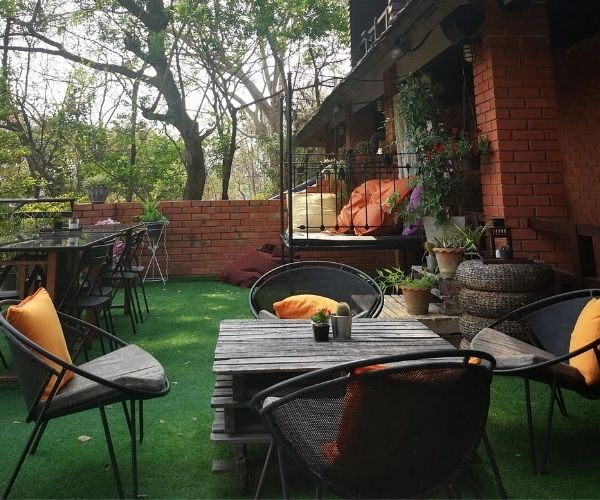
Step 1: Scrub and Wash
With this step, give your furniture a thorough cleaning to get rid of most dirt and stains.
- Mix dish soap and warm water in a small basin.
- Wet your outdoor furniture and apply the solution onto the surface.
- Scrub away the dirt and mildew with a soft brush.
Cautionary tip: Make sure to distinguish between hard woods (such as teak and oak) and soft woods (such as cedar and pine). While hard woods are fairly resistant to scratches, softer woods need to be scrubbed in the direction of the grain with a soft brush or pad. You may switch to a wire brush for stubborn stains if necessary, but beware that this is likely to strip wood fibers.
- Finally, rinse off the cleaning solution and grime using a garden hose.
Step 2: Tougher Stains
In case stubborn grime and mildew spots remain:
- Mix oxygen bleach, dish soap and water in a basin.
- Try out the solution on a small surface for potential reactions.
- If there are no side effects, let the mixture sit on the surface for around 15 minutes, enough to foam and react with the dirt.
- Scrub off the remaining grime with a soft brush.
- Hose off the cleaning solution and residue.
Step 3: Drying
Pat down the furniture, then let it dry out in the sunlight or in a warm place such as a shed or a garage.
Step 4: Polish
Since humidity can heighten the grain of wood, gently sand down your patio furniture in the direction of the grain using medium-grit sandpaper. Wipe away residue.
Step 5: Finishing Care Touches
Here are some extra finishing touches to give your outdoor furniture an extra pop.
- Apply some wood stain on your wooden furniture.
- Particularly, soft timbers would benefit from a stain that blocks UV rays, which disintegrate wood fibers.
CLEAN PLASTIC PATIO FURNITURE
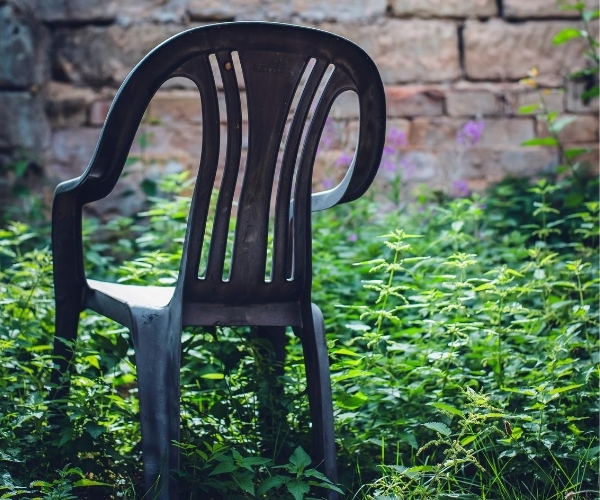
Step 1: Scrub and Wash
With this step, give your furniture a thorough cleaning to get rid of most dirt and stains.
- Mix dish soap and warm water in a small basin (1:4 dish soap to water ratio).
- Wet your outdoor furniture and apply the solution onto the surface.
- Scrub away the dirt and mildew with a soft brush.
- Finally, rinse off the cleaning solution and grime with a garden hose.
Step 2: Tougher Stains
In case stubborn grime and mildew spots remain:
- Mix oxygen bleach, dish soap and water in a basin.
- Try out the solution on a small surface for potential reactions.
- If there are no side effects, let the mixture sit on the surface for around 15 minutes, enough to foam and react with the dirt.
- Scrub off the remaining grime with a soft brush.
- Hose off the cleaning solution and residue.
Step 3: Drying
Pat down the furniture, then let it dry out in the sunlight.
Step 4: Polish
A plastic surface‘s finish can look and feel dull after a cleaning; gently sand it down using medium-grit sandpaper. Wipe away residue.
Step 5: Finishing Care Touches
To restore the shine of plastic surfaces:
- Apply a coat of standard water-based paint on tenacious stains.
- Apply a dime-sized amount of paste wax to a dry cloth and apply in circular motions to polish the surface. This will help repel grime and stains.
CLEAN METAL GARDEN FURNITURE
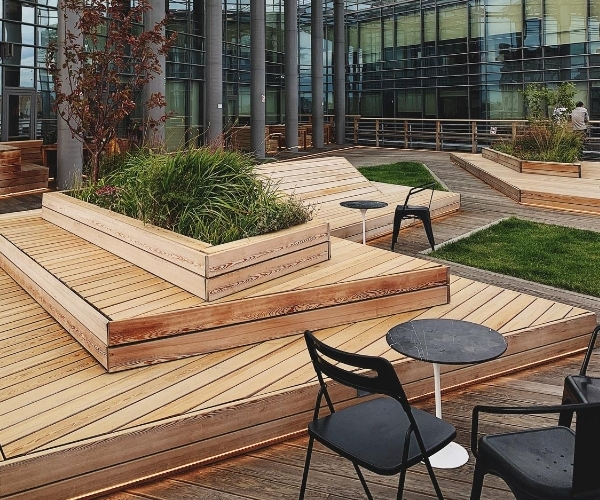
Step 1: Scrub and Wash
With this step, give your furniture a thorough cleaning to get rid of most dirt and stains.
- Mix dish soap and warm water in a small basin (1:4 dish soap to water ratio).
- Wet your garden furniture and apply the solution onto the surface.
- Scrub away the dirt and mildew with a soft brush.
- Finally, rinse off the cleaning solution and grime with a garden hose.
Step 2: Tougher Stains
In case stubborn grime and mildew spots remain:
- Mix oxygen bleach, dish soap and water in a basin.
- Try out the solution on a small surface for potential reactions.
- If there are no side effects, let the mixture sit on the surface for around 15 minutes, enough to foam and react with the dirt.
- Scrub off the remaining grime with a soft brush.
- Hose off the cleaning solution and residue.
Step 3: Drying
Pat down the furniture, then let it dry out in the sunlight.
Step 4: Polish
Though metal outdoor furniture is the most durable on the market, it is susceptible to rust. Gently sand it down using medium-grit sandpaper. Wipe away residue.
CLEAN FABRIC OUTDOOR FURNITURE
If a manufacturer‘s tag is attached: Simply follow it! For remaining mildew spots, check the label to see if the fabric is compatible with bleach.
If there is no manufacturer‘s tag:
- Brush off excess dirt. You can also vacuum cushions at a low suction level.
- Mix dish soap and warm water in a small basin (1:4 dish soap to water ratio).
- Wet your garden furniture and apply the solution onto the surface.
- Gently scrub away the dirt and mildew with a soft brush.
- Finally, rinse off the cleaning solution and grime with a garden hose.
Alternately, put removable fabrics into the washing machine, but do not machine-dry them.
For tougher stains, apply the following methods:
- Mix oxygen bleach, dish soap and water in a basin.
- Try out the solution on a small surface for potential reactions.
- If there are no side effects, let the mixture sit on the surface for around 15 minutes, enough to foam and react with the dirt.
- Scrub off the remaining grime with a soft brush.
- Hose off the cleaning solution and residue.
CLEAN WICKER GARDEN FURNITURE
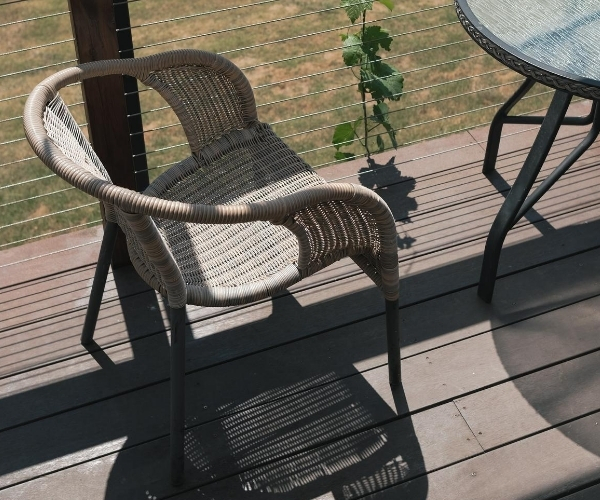
Additional tool: soft cloth
Step 1: Rub and Wash
With this step, give your furniture a thorough cleaning to get rid of most dirt and stains.
- Mix dish soap and warm water in a small basin (1:4 dish soap to water ratio).
- Apply the solution to the soft cloth and wipe the wicker.
- Finally, rinse off the cleaning solution and grime with a garden hose.
Step 2: Tougher Stains
For problematic spots:
- Gently scrub the wicker using a soft brush and the warm soapy water mixture from step 1. Hose off the cleaning solution and grime.
- To remove mildew spots, prepare a 1:4 solution of vinegar diluted in water. Wipe the furniture with it, then rinse off the cleaning solution and grime with a garden hose.
- You can also use a handheld steam cleaner if your furniture is very dirty. Make sure to follow up with a thorough hair-dryer dry so as not to deform the fabric of the wicker. For optimal results, do this procedure when it‘s very sunny or windy outside, so that it dries quicker.
Step 3: Drying
Place the furniture in sunlight and let it dry out. You can use a hair-dryer for faster results.
EXTRA MAINTENANCE TIPS FOR ALL SURFACES
Follow these tips to better care for your garden furniture in the long-term:
- Store cushions indoors when you aren‘t using them.
- Don‘t wrap cushions in plastic, as this will likely trap in moisture and lead to mould stains.
- Invest in outdoor furniture covers to prevent exposure to dust particles, UV rays and moisture. It will lighten your cleaning process.
- Regardless of the surface, regularly clean your furniture to improve its longevity.
MORE CLEANING TIPS FOR YOU
If you enjoyed this article, you may be interested in:
