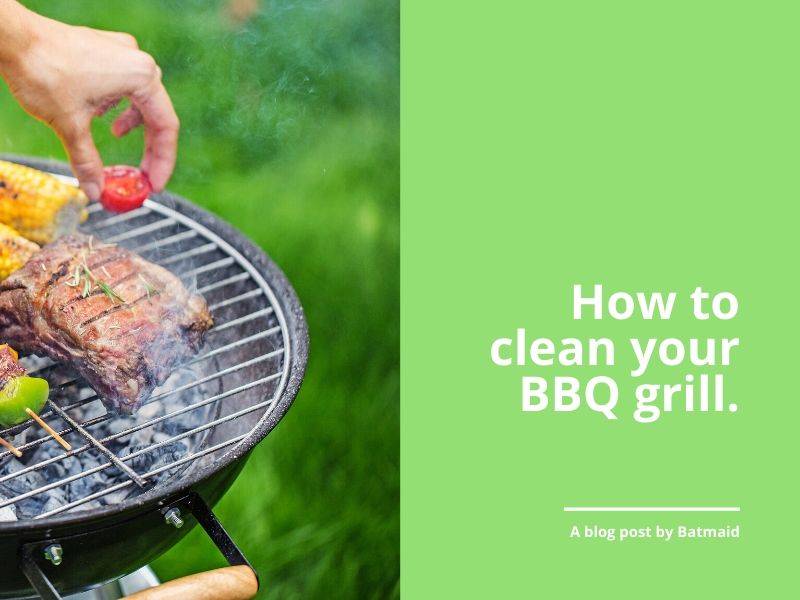
How to clean your BBQ grill
June 4th at 2:42pm
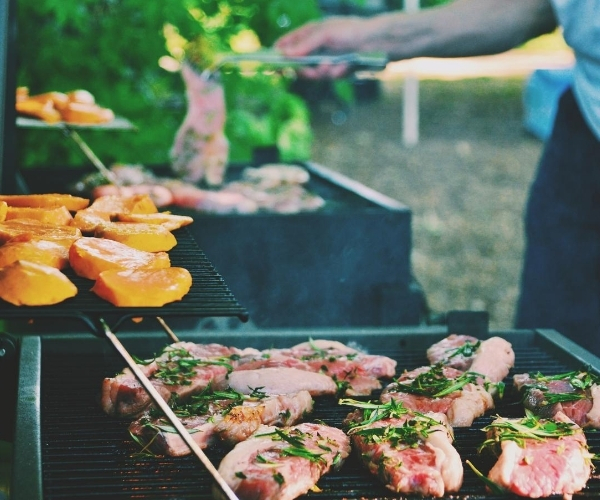
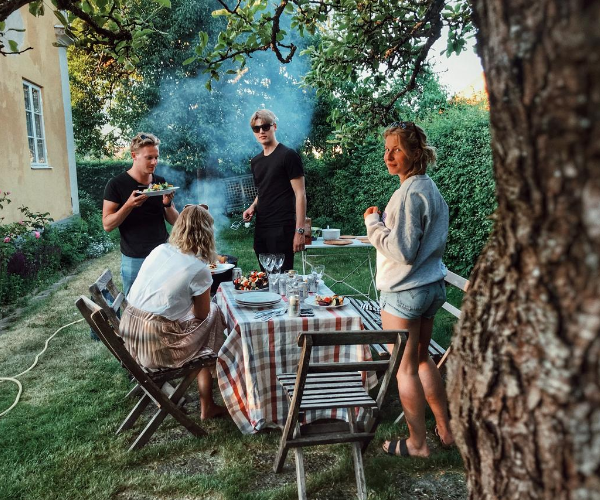
Just as confinement measures are loosening up, it‘s time to take out the BBQ grill in time for summer festivities! But a simple wipe-down won‘t suffice before getting the steaks sizzling. It‘s necessary to remove the pesky carbon and grease build-up to avoid trapping bacteria and get your grill functioning properly. Aside from eliminating cancerogenic substances in your meal, your taste buds will also appreciate the delicious flavors!
(While this guide is primarily intended for gas grills, the outlined cleaning practices can also be adapted for charcoal grills.)
GRILL CLEANING PRODUCTS AND TOOLS:
Here is the equipment you‘ll need to get your grill squeaky clean:
- Wire brush (preferably long handled)
- Scrapers
- Bucket of hot soapy water (dish soap will help break down grease and grime, and does not contain toxic chemicals that can flavor your food)
- Stainless steel cleaner (substitutable with white vinegar)
- Microfibre cloth or other gentle cloth
- Heat-proof gloves (optional but recommended)
Top tip: If you don‘t have a wire brush, loosely crumple a large sheet of aluminium foil. When scraping away additional debris from the grates, use tongues to manoeuvre it between the grate bars.
STEP-BY-STEP GUIDE ON HOW TO CLEAN A BBQ
Total time: 2-3 hours
STEP 1: Crank up the heat
To get rid of excess grease and grime deposits, fire up the BBQ grill at maximum temperature with the hood down. Let it burn for 15 minutes, or until the smoke stops (meaning the grease has vaporized). Next, flip the grates and repeat the process. This will both kill the bacteria trapped inside and carbonise leftover food and rancid grease. Make sure to turn off and disconnect the gas supply before proceeding to the next step.
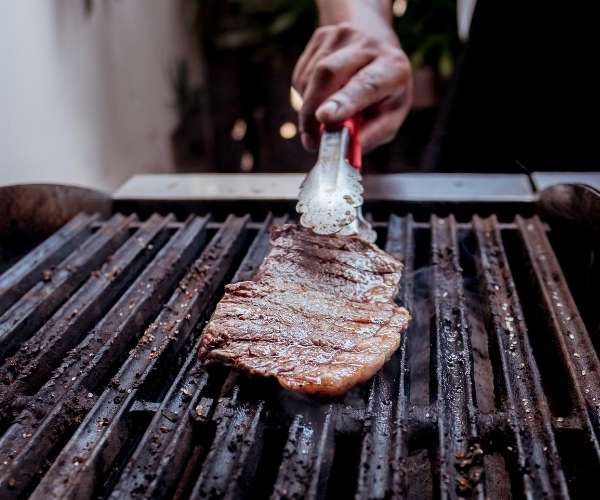
STEP 2: Get scraping
Now that the stubborn gunk has had time to burn, turn off the heat and let the grill partially cool down. Scrape away remaining caked-on debris with a wire brush while the grates are still warm.
Top tip: Be careful with bristle wire brushes, as they can shed loose bristles during the cleaning process. If swallowed, these can get lodged in your throat or create internal damage. Watch out for loose bristles before your barbecue!
STEP 3: Soak it up
Once the grill has cooled down completely, it‘s ready to be disassembled. To do so, remove the cooking grates, heat diffusers and flavorizer bars, and submerge them in a bucket of soapy water for about an hour. While they soak, take the opportunity to strip the grill as much as possible, and clean the bottom with a wire brush and soapy water.
Make sure to inspect the burner tubes for defects, since they are usually also removable. Clogged burners will reduce flame size, thereby underpowering the grill. Using a dry wire brush, gently scrub the burners on the outside.
STEP 4: Finishing touches
To give your stainless steel grill a polished look, wipe the outside in the direction of the grain using a gentle cloth and stainless steel cleaner or white vinegar.
Top tip: Don‘t use abrasive cleaners or paper towels during this process, as these will damage stainless steel.
If your grill doesn‘t have a stainless steel surface, simply give it a wipe with warm water mixed with dish detergent.
STEP 5: Put it back where you found it
Carefully reassemble your BBQ grill, preheat it for 15 minutes to burn off potential cleaning residue, and there you go! It‘s time to impress family and friends with delicious recipes this summer.
EXTRA TIPS AND TRICKS FOR BBQ MAINTENANCE
The following tips will keep your grill looking polished and extend its lifetime value:
- Help prevent build-up by oiling your grates before firing up the grill.
- After each use, get rid of caked-on debris with a wire brush while the grates are still hot. This will prevent new flavors from mixing with old, and facilitate overall maintenance. For a natural alternative, rub an onion half on the grates (it has antibacterial properties and fights rust).
- Clean your BBQ regularly (two or three thorough cleanings during the summer) in order to keep your grill functioning properly.
OTHER TIPS AND TRICKS FOR YOU
If you enjoyed this article, you may be interested in: