How to clean a kitchen in 20 min
February 25th at 10:26am
Cleaning a kitchen can be daunting and seem impossible when you don't have much time and don't know where to start! What needs to be cleaned, what products can be used, and how long does it take?
You will learn that, by knowing the important surfaces to be cleaned. and giving yourself a set deadline for each step, you will be able to clean your kitchen in no time at all! Let's set ourselves a challenge: clean your kitchen in 20 minutes. So, are you ready? 😎
List of utensils and products
First, make sure you have the following equipment and cleaning helpers at hand:
- Gloves
- Microfibre cloths
- A non-abrasive sponge
- Cleaning alcohol
- White vinegar
- Baking soda
- A mop
- A bucket
For a checklist of all the necessary equipment for your home cleaning, click here
First step: the walls (3 min)
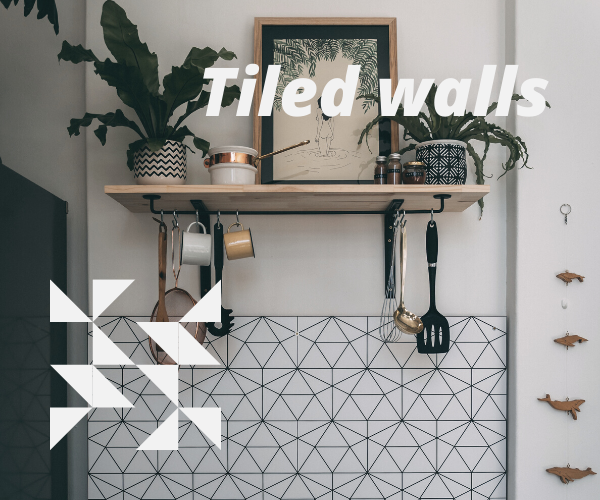
Like any unprotected surface in the kitchen, the walls are exposed to fat during cooking. This is easy to remove: wipe the tiled walls with a cloth moistened with cleaning alcohol. If the fat layer is too thick, spread a mixture of the same amount of baking powder and water on it and let it work while you continue cleaning. Don't forget to rinse the paste when you are done.
Caution: If your walls are delicate (i.e. painted walls), we recommend that you only wipe it with a slightly damp cloth.
Second step: cupboards and appliances (5 min)

For a quick cleaning, you don't have to clear out all the cupboards and spend the day there, because we promised you a 20-minute cleaning. Simply dip a microfibre cloth in a mixture of half water, half white vinegar and wipe the doors of your cupboards (inside and outside) to remove all stains. Then wipe down with clean water.
Finally, quickly wipe your small household appliances and cables (toaster, coffee machine, etc.) with a small cloth moistened with cleaning alcohol.
Caution: We recommend that you always disconnect your appliances from the mains when cleaning them.
Third step: worktops and hobs (5 min)

Again, arm yourself with your faithful water-vinegar cocktail, and wipe the surfaces of your worktops and hobs with a cloth moistened with this mixture. Rinse with clear water to avoid odours.
A little tip: To increase the disinfectant effect, you can add a few drops of essential tea tree oil, eucalyptus or lemon.
A sponge and liquid soap are sufficient to remove small stains from the hob while also preventing damage (especially scratches on glass ceramic tops...).
Fourth step: the sink (2 min)
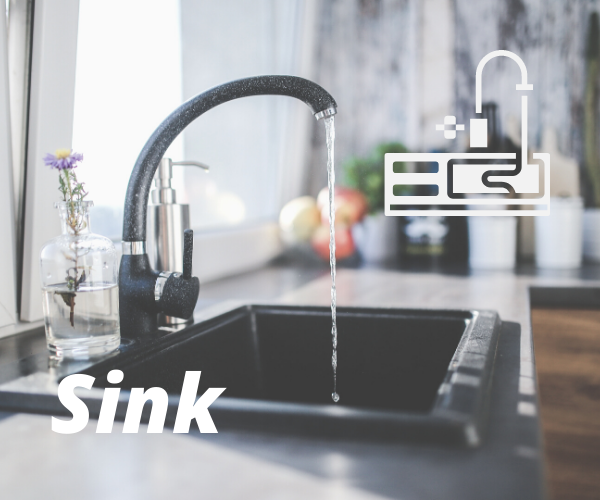 We cannot repeat this often enough -- the final touch of a clean kitchen is the sink! Therefore, empty it, rinse the dishes or put them in the dishwasher, and when everything is tidy, clean it with a sponge and a few drops of white vinegar.
A little tip: To avoid traces on stainless steel and fittings after cleaning, dry everything well and rub again with a dry microfibre cloth. Bye-bye, limestone marks!
Fifth and last step: the floor (5 min)

That's it, your kitchen is shining and all what’s left is the floor: a little courage! Fill your bucket with water and liquid soap (optional: a few drops of white vinegar) and dip your mop in. Let it glide over your floor to remove all stains - then all you have to do is dry it.
So there you have it, your kitchen is clean! A piece of cake, isn't it? Obviously, each express cleaning will be more effective if it is done at least once a week. The secret to keeping a clean kitchen is regular small cleanings! Remember to clean your hotplates and worktops as soon as you’ve used them, and don't leave your dishes in the sink for too long!
To learn more on how to clean your kitchen, here is the Batmaid tutorial
More cleaning tips and tricks for you
Check out our other Batmaid tips and tricks for cleaning your kitchen in the articles :