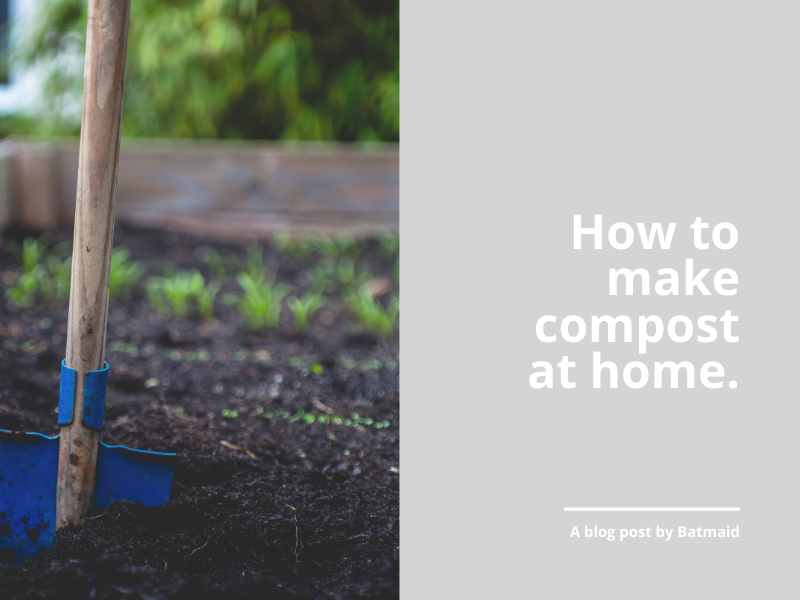
How to make compost at home
July 8th at 5:47pm
Composting may seem like a difficult and time-consuming task, but it’s actually a lot easier than it seems once you get the hang of it! Aside from being good for the environment, it is a great help in better tending to your garden and plants in a simpler, eco-friendlier way.
BENEFITS OF COMPOSTING
Let’s look at the benefits of composting:
● It contributes to recycling by reducing waste ● It can be used as a natural fertilizer ● It’s highly beneficial for your plants and garden: Compost helps aerate the soil, enriches it with nutrients, and helps break down organic matter.
To learn more about the benefits of composting, watch the following video:
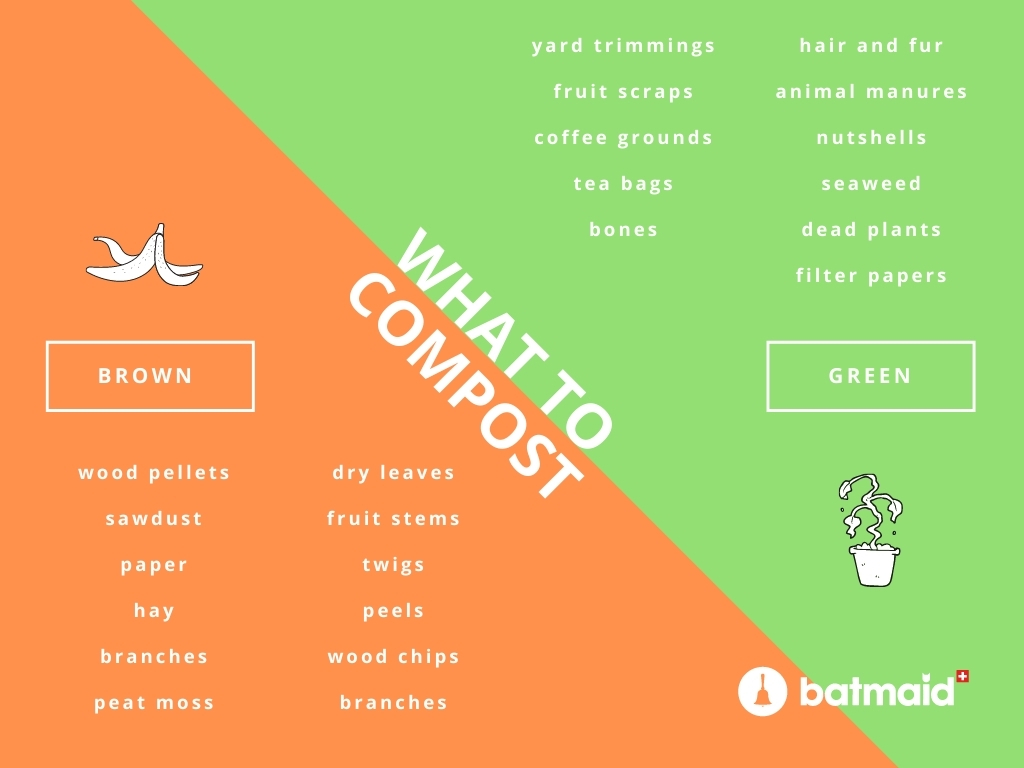
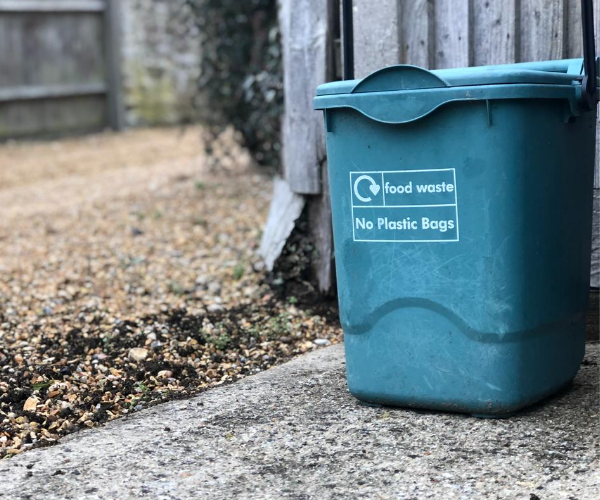
WHAT TO COMPOST
There are two main ingredients aside from water (which helps break down the organic matter) that will constitute your compost:
Brown materials (carbon-rich): dry leaves, branches, stems, twigs, peels, wood chips/pellets, sawdust, shredded paper, eggshells, peat moss, hay and straw, corn cobs, etc. Green materials (nitrogen-rich): yard trimmings, fruit and vegetable waste, coffee grounds and filters, grass and plant clippings, tea bags, nutshells, hair and fur, etc.
The best practice is to follow a C:N ratio of 25-30:1. With excess carbon, decomposition will slow down, and with excess nitrogen, your compost will have pesky odors.
What not to put:
- Meat, fish, poultry or egg scraps: these attract pests and create pesky odors
- Dairy products: these attract pests and create pesky odors
- Manures and pet litter: may contain harmful bacteria, viruses or parasites
- Coal or charcoal ash: these may contain substances that are harmful to plants
- Fats, oils and grease: these attract pests and create pesky odors
- Yard trimmings and grass clippings with chemical pesticides: may kill organisms responsible for the decomposition
- Diseased plant materials: diseases can transfer to other plants
HOW TO COMPOST OUTDOORS
If you have a garden or balcony at your disposal, this section is for you!
- Choose a spot for your compost pile or bin. Make sure that it is well aerated, near a water source, and has adequate sun in the winter while receiving enough shade to prevent overheating in the summer.
- Select a composter. You can buy a compost bin, particularly a rotating one, but it is also possible to make one of your own. To do so, simply drill some holes into a plastic bin so as to let the compost aerate, then fill the bottom with a coat of brown materials. Your bin is ready to be filled with the rest of the green materials.
- Pile the brown and green materials. Moisten the brown/dry materials as you add them. Be sure that larger pieces are chopped or shredded. Also, beware not to add too much water as this will cause your pile to rot. Layer the materials in a more or less “lasagna style”, and make sure to top it all off with brown materials (so that no green materials are peaking through).
- Monitor the decomposition. The temperature of your pile should be between 60°C and 70°C and can even go up to 77°C when the decomposition picks up. The moisture content of your heap should be around 50-60%. You can calculate optimal moisture content. Make sure to stir the compost, as this will speed up the decomposition. Your compost should be ready in a matter of two months to two years.
HOW TO COMPOST INDOORS
Did you know that you can compost even if you don’t own a garden or balcony?
Simply get a plastic bin such as one you would use for storage (or make one of your own) to be able to stack the brown and green materials in. Follow the guidelines above to sort which items you can and can’t compost.
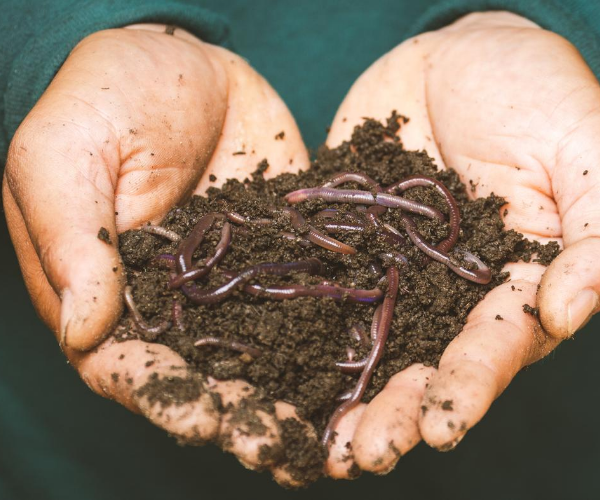
A great way to speed up the decomposition of your indoor compost is to use a worm composter (a technique called vermicomposting). The worm castings will actually provide far more nutrients than simply mineral fertilizers. Use redworms to compost.