How to clean your keyboard quickly and easily
February 13th at 10:24am
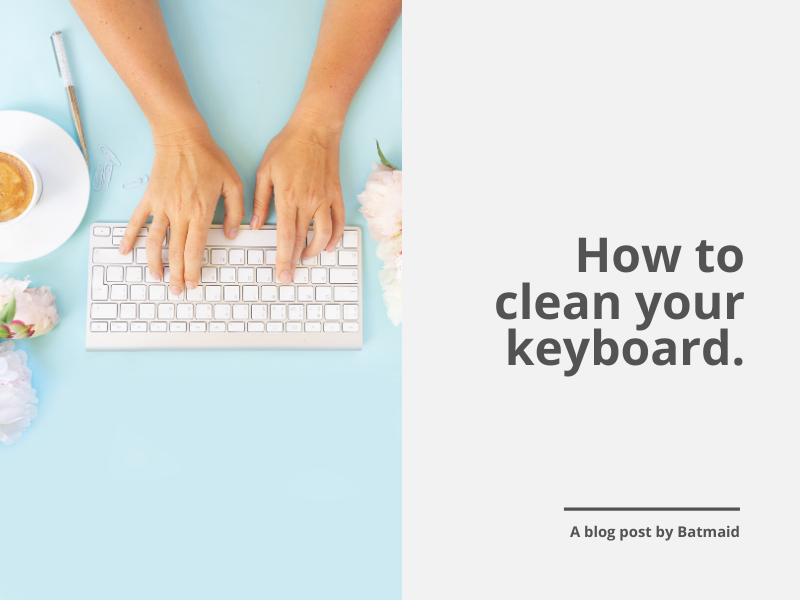
If you’re reading this article there’s a pretty good chance that you’re currently sat in front of a keyboard. There are keyboards out there that go their whole lives without being cleaned, despite being a hotspot for germs and dirt. Don’t let yours be one of them! Here is our guide to cleaning your keyboard, depending on the level of severity.
Cleaning laptop and mac keyboards
We should mention that the quick clean method listed below will work when it comes to cleaning your PC Laptop keyboards and even for Apple-branded ones. Please note, however, that when it comes to deep cleaning either of these, we suggest that you find a brand-specific guide. For example, this is a guide from Apple showing you how to clean your Macbook keyboard. These types of keyboards tend to be more specialized depending on the model and therefore will need specialized cleaning guides to avoid damaging them.
Quick clean of your keyboard
If your keyboard is looking a little grubby or if you just want to give it a little spruce up but don’t have much time, here are a few steps to follow for a quick and easy clean.

Deep clean of your keyboard
Sometimes a superficial clean just isn’t going to do the job, especially if the keyboard has been neglected for many years. No matter how careful you are with yours, dirt build-up is simply inevitable, so we would recommend cleaning it properly at least every 6 months!
-
Unplug the keyboard.
- Remove the keys from the keyboard. This is where it gets a little finicky, but just take your time and you will see it’s actually quite straight forward. The best practice is to use a ‘’keycap remover’’ but you can remove keys from a traditional keyboard using anything that will allow you to pry them off from below. A flat head screwdriver usually does the trick, although you can find keycap removers online for as little as 5.-.

Pro-tip: If you think you will have trouble remembering the exact position of each of the keys, as these can vary from model to model, we recommend taking a photo of your keyboard before you start!

- Give the keys a well-deserved bath. Take all the keys and place them in a medium-sized container, fill it up with hot water and then add either: dish soap, white vinegar or denture tablets. This part is up to you, we recommend using white vinegar as it does a great job cleaning, is bio and can be found in most kitchens! The denture tablets also do a great job, but you’ll undoubtedly have to head out to find some. Let it all soak together for a minimum of 5 hours to let the cleaning agent of your choice work its magic, before removing them, wiping them off and leaving them out to dry.

-
Clean the body of the keyboard. You will want to find yourself either a very thin brush or, failing that, a cotton wool bud. These thin instruments will allow you to sweep in between the key beds and loosen up any built-up dirt. Once you’ve given your keyboard body a thorough once-over, it’s time to break out the hoover. Carefully make your way over each section of the keyboard with the nozzle of your vacuum to suck up any unwanted crumbs or loose dirt. Avoid dust build-up by placing the keyboard upside down on your desk until you are ready to clip all of your keys back into place.
-
Re-seat all of your keys. Once your keys have dried completely, it’s time to put them all back in place. If you aren’t sure of the individual placements of each key, this is a great time to consult that photo you took earlier!
- Give the whole keyboard a final wipe with a microfiber cloth and you are good to go!
The difference should be noticeable immediately, we hope you enjoy your freshly cleaned keyboard! Let us know if there are any other tips you would like to read about in the coming months!