How to clean makeup brushes
December 15th at 3:56pm
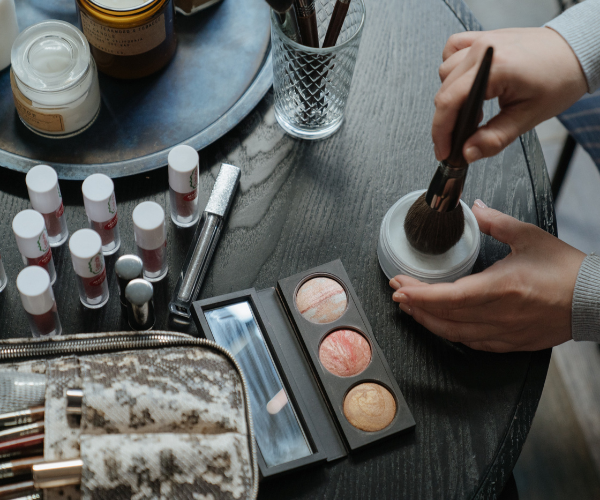
Though we might not be going to fancy dress-up parties at the moment and even working in an office is a distant memory, putting on a little makeup can do wonders for your mental health and be an instant mood boost!
However, while we regularly replace our makeup (whenever we’ve finished a product...), taking care of one’s makeup brushes is far too often forgotten!
Get rid of makeup residue, dust particles and nasty bacteria by following our quick-and-easy cleaning steps.
Daily makeup brush maintenance
We recommend wiping off excess residue after every single use. You don’t want your bristles to get stiff! Simply use a clean towel or some paper towels to do so.
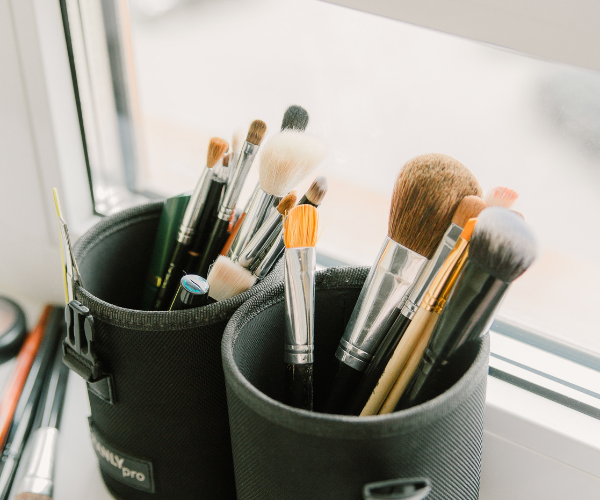
Make sure to store your brushes in a container that isn’t airtight (condensation is your worst enemy) and allows them to stand upright, with tips facing upwards. The bristles can break if you leave your brushes lying on the sink or store them in your makeup bag.
Weekly makeup brush maintenance
Yup, we’re the first to say it: Monthly brush cleanings aren’t enough to combat bacteria. Thoroughly rinse and clean your brushes once a week, otherwise you’ll cause your skin to start breaking out due to all that dirt and bacteria you’re applying to your face, eyes and eyebrows!
The good news is, that it doesn’t actually take a lot of time - we promise you’ll be done in 5 minutes or less!
- Take your brush and wet the bristles with lukewarm water.
- Squirt a few drops of your facial cleanser in the palm of your hand (a gentle cleanser is best). Gently massage the tips of the bristles in your palm. Don’t apply too much pressure, as it can cause breakage. Be careful not to let the water and facial cleaners touch the base of your brush - that’s where the bristles are glued to the base; water can cause the glue to disintegrate.
- Rinse the bristles in lukewarm water. The water should run out clearly now. If it doesn’t, repeating step 2 should do the trick.
- Take a towel and pat the bristles dry. Gently squeeze out the excess moisture with a clean towel.
- If necessary, re-form the brush head back into its original shape. All you need to do now, is let the brush air-dry! Make sure to have the bristles hang off the edge of the counter to prevent mildew (don’t let them dry on a towel).
To summarize, these are the 5 main steps:
Benefits of cleaning your makeup brushes
As we’ve mentioned earlier, the number one reason to clean your brushes is to remove makeup residue, dust particles and bacteria. Keeping your brushes clean means that your brushes will not only last longer but also you’ll be able to apply your makeup product more precisely and evenly.
And while we’ve only been talking about makeup brushes, other tools such as sponges need to be cleaned as well. You can easily adapt our method to any makeup tool. Happy cleaning!
Now that your makeup brushes are cleaned, you can't seem to stop?
We offer plenty more reading material!